Dog tags are imperative for identifying your pet in case they ever get lost. Attaching a dog tag to your pet’s collar is a simple and important task that every pet owner should know how to do. Here is a step-by-step guide on how to attach a dog tag to a collar using a DIY approach:
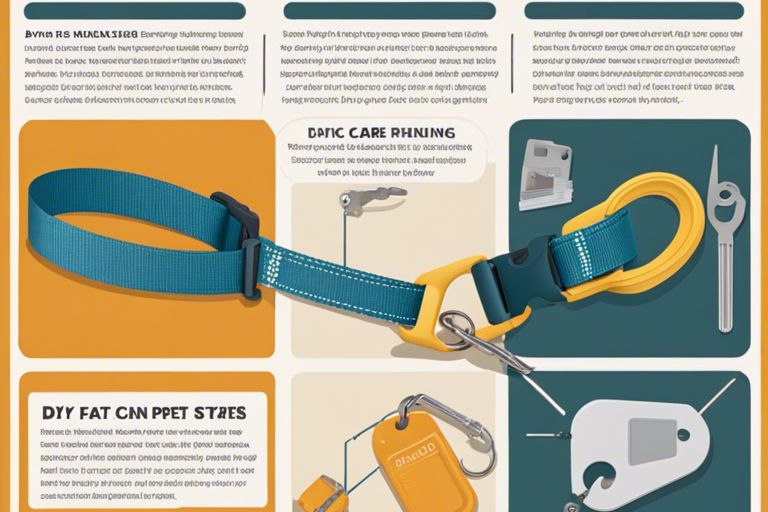
Materials Needed:
- Dog tag
- Pet collar
- Split ring or S-hook
- Pliers (if using a split ring)
Steps to Attach Dog Tag to Collar:
- Choose the correct side of the dog tag. One side usually has your pet’s name and your contact information, and the other side typically has a unique identifier number.
- Thread the split ring or S-hook through the small hole on the dog tag.
- If you are using a split ring, use pliers to gently pry it open just wide enough to slide the collar through.
- Slide the split ring or S-hook through the D-ring on your pet’s collar.
- If using a split ring, use the pliers to close the ring securely so that the tag is firmly attached to the collar.
- Ensure that the dog tag hangs flat against the collar and is not twisted or tangled.
Tips for Attaching Dog Tag:
- Regularly check the attachment to make sure the dog tag is still securely fastened to the collar.
- Make sure the text on the dog tag is facing outward and is easy to read.
- If your pet is uncomfortable with the jingling noise of the tag, consider getting a tag silencer or using a rubber tag cover.
- Keep your contact information updated on the dog tag in case of any changes.
By following these simple steps, you can ensure that your pet’s identification is always with them, giving you peace of mind in case they ever wander off. Recall, attaching a dog tag to a collar is a quick and easy DIY task that can make a world of difference in ensuring your pet’s safety.